
My sister in law came to quilt today, so I thought I’d take a couple of pictures of the process and share what it’s like to use a long arm machine.

This is the quilt when it is first loaded on the machine. This is the reason you need the back of the quilt and the batting to be larger. The front will lie on them, and may travel as you quilt it. The extra space keeps you safe from going off of the edge.
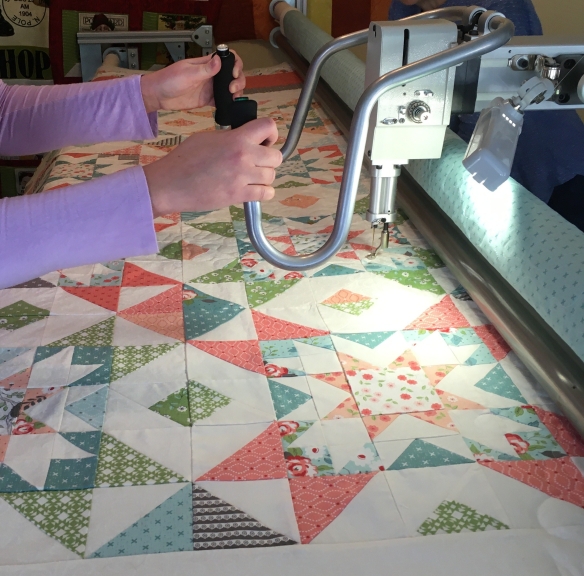
Isn’t her quilt magnificent? It is Moda’s Nest Fabric, with nesting stars. I may have died of cuteness, but then I wouldn’t have been able to help her use the machine. She is an unusually fast stippler. This is a large, king sized quilt, and she stippled it in less than five hours. If you are thinking you can do that, I would pause and try it first. I am pretty sure I could not do it that speed, and I’ve had a lot of practice. That is the fastest I’ve seen one done on this machine.

I love that she hand stitched a little inscription here. Always sign your work, friends.
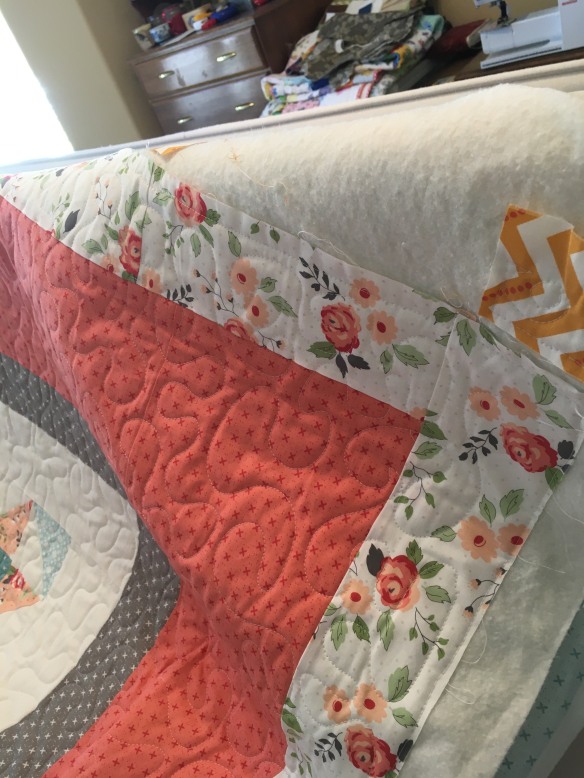 This is what the edges of the quilt look like when it comes off of the long arm machine. The quilt is ready to be trimmed, and then bound. There is a line of stitching around three sides of the quilt, and the fourth side is basted together. I always trim these edges so the stitching will be inside of the quilt binding. Up in the corner of the photo is a non matching scrap I used to test tension. That’s the other reason you need the backing and the batting to be bigger. Long arm machines need the tension adjusted if there are variances between sizes of battings, threads, etc.
Any questions? Shoot me an email, or comment.


